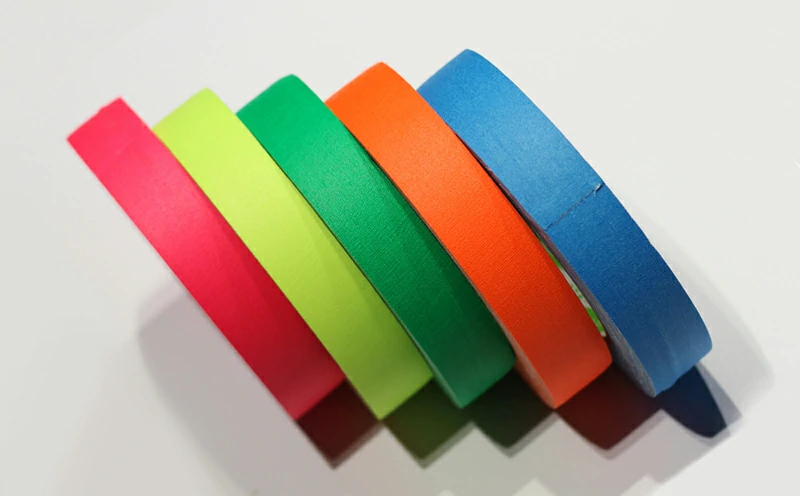
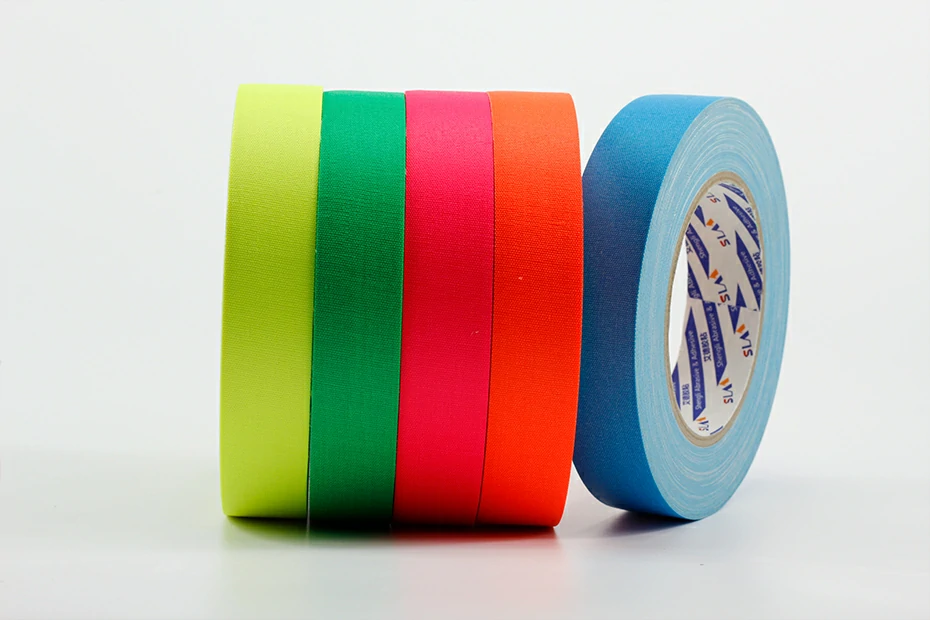
Gaffer tape is an essential tool in film production, photography studios, live events, theaters, exhibitions, and industrial workplaces. Its strong temporary adhesion, matte finish, and clean removal make it ideal for securing cables, marking positions, protecting floors, and organizing equipment.
However, improper application or removal can still damage certain surfaces. Many users ask questions such as "Is gaffer tape safe for delicate surfaces?", "How long can you leave gaffer tape on?", and "How to remove gaffer tape without leaving stickiness?"
This guide explains how to use gaffer tape correctly, how to avoid surface damage, and how professionals achieve residue-free removal in demanding environments.
What Makes Gaffer Tape Different?
Unlike conventional duct tape, professional gaffer tape is engineered for temporary applications where clean removal is critical.
Key characteristics include:
- Strong temporary holding power
- Matte, non-reflective cloth backing
- Hand-tearable construction
- Flexible conformability
- Minimal adhesive residue
- Easy repositioning
- Clean removal from many surfaces
These features make gaffer tape the preferred solution for film sets, stages, photography studios, convention centers, and event venues.
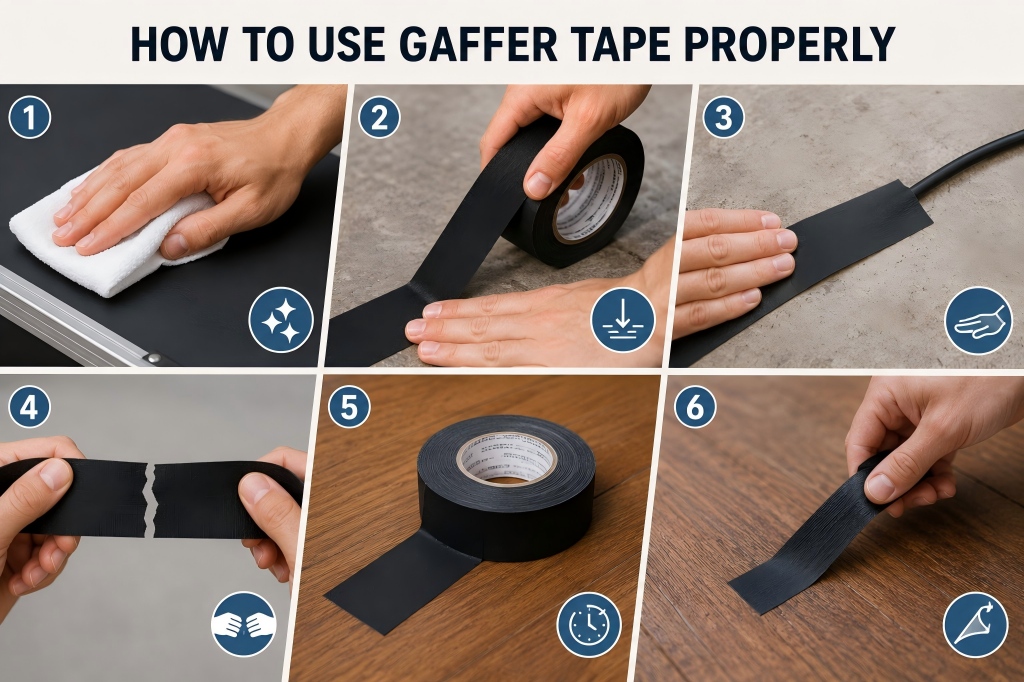
How to Use Gaffer Tape Properly
Proper application is the most important step in preventing surface damage.
1. Start with a Clean Surface
Dust, oil, wax, and moisture can affect adhesive performance and increase the risk of residue.
Before applying gaffer tape:
- Remove dirt and debris
- Wipe away grease or oil
- Ensure the surface is completely dry
- Avoid applying tape immediately after cleaning with solvents
A clean surface allows the adhesive to bond evenly without excessive pressure.
2. Apply Firmly but Do Not Over-Press
Many users assume stronger pressure creates a better bond. In reality, excessive pressure can increase mechanical adhesion and make removal more difficult.
For best results:
- Apply the tape smoothly
- Press lightly and evenly
- Avoid stretching the tape during application
- Eliminate air pockets where possible
This technique provides sufficient holding power while preserving clean removal.
3. Match the Tape to the Surface
Different surfaces react differently to adhesives.
|
Surface Type |
Risk Level |
Recommended Practice |
|
Metal & Glass |
Low |
Ideal application surfaces. Ensure they are clean and dry before use. |
|
Poly-Sealed Hardwood |
Moderate |
Generally considered a safe tape for hardwood floors if the finish is fully cured and in good condition. |
|
Painted Drywall & Plaster |
Moderate |
Apply with minimal pressure and ensure paint has fully cured before use. |
|
Wallpaper & Low-VOC Paint |
High |
Test first in an inconspicuous area. Surface damage or delamination may occur. |
Is Gaffer Tape Safe for Delicate Surfaces?
One of the most frequently asked questions is:
Is gaffer tape safe for delicate surfaces?
The answer depends on the surface condition and the quality of the tape.
Professional-grade gaffer tape is generally safe for:
- Finished hardwood flooring
- Glass
- Metal panels
- Vinyl flooring
- Powder-coated equipment
- Sealed plastics
Extra caution should be used on:
- Fresh paint
- Wallpaper
- Unsealed wood
- Antique finishes
- Chalky or low-VOC coatings
Always test a small hidden section before large-scale application.
Gaffer Tape on Walls: What You Should Know
Using gaffer tape on walls is common during productions, exhibitions, and temporary installations.
To avoid paint damage:
- Ensure paint is fully cured
- Avoid freshly painted surfaces
- Do not leave tape applied for extended periods
- Remove slowly using the proper technique
While quality gaffer tape is safer than duct tape, weak or poorly bonded paint can still lift during removal.
Safe Tape for Hardwood Floors
Film crews and event professionals frequently use gaffer tape on flooring because it provides secure cable management while minimizing damage.
When using gaffer tape on hardwood floors:
- Confirm the floor coating is fully cured
- Avoid waxed or unfinished wood
- Remove tape promptly after use
- Use premium-grade gaffer tape rather than aggressive industrial tapes
When applied correctly, gaffer tape is often considered the preferred safe tape for hardwood floors in temporary applications.
Dwell Time: How Long Can You Leave Gaffer Tape On?
A critical factor in avoiding surface damage is managing dwell time. A frequent question asked by site technicians is: how long can you leave gaffer tape on before it starts bonding permanently?
Most premium gaffer tapes are rated for clean removal within a 14 to 21-day window. Leaving the tape in place longer exposes the rubber adhesive matrix to ambient oxygen, temperature fluctuations, and UV light, causing it to cross-link with the surface below. Over time, the adhesive cures into the material, making residue-free removal nearly impossible without using chemical solvents.
While the exact duration varies depending on environmental conditions, core factors that directly affect clean removal include:
- UV exposure
- Heat
- Moisture
- Surface finish
- Tape quality
Removing the tape promptly helps ensure cleaner removal and reduces the likelihood of leaving an unwanted adhesive residue behind.
💡 Pro Tip: If your job site or film set requires a layout to remain in place for months at a time, gaffer tape is the wrong tool. Transition to specialized clean-removal vinyl masking tapes or low-tack painter's tapes designed for extended dwell times.
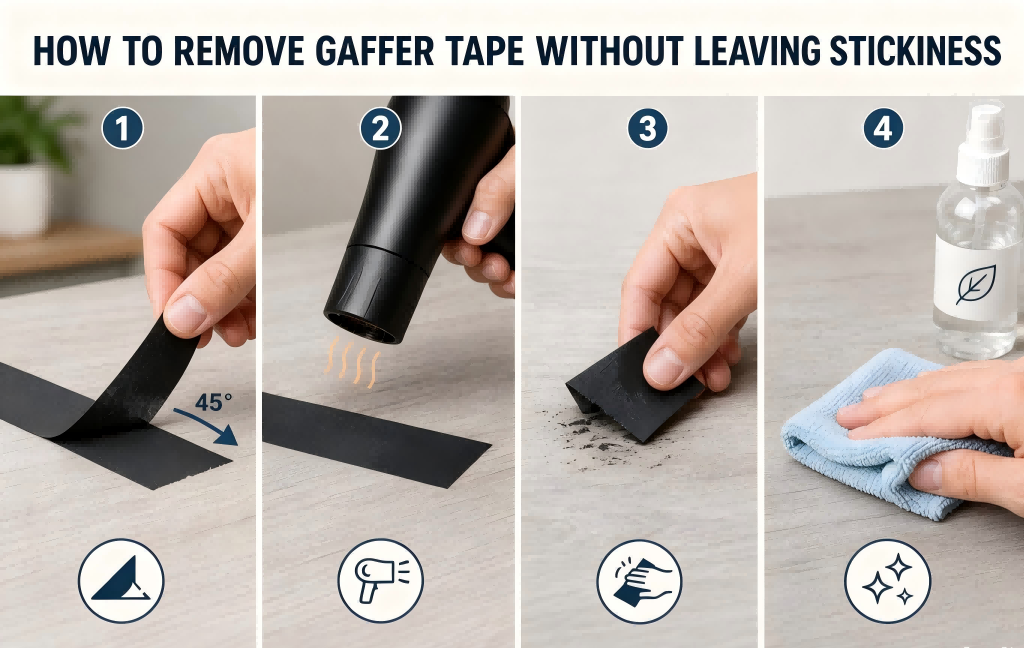
Step-by-Step: How to Remove Gaffer Tape Without Leaving Stickiness
If you encounter a stubborn roll or an extended dwell time, learning how to remove gaffer tape without leaving stickiness will protect your surfaces from permanent blemishes. Follow this professional removal protocol:
- The "Low and Slow" Pull Technique: Never rip gaffer tape off a surface like a bandage. Ripping creates extreme perpendicular stress, lifting paint and finishes. Instead, fold the tape back flat against itself at a 45-degree angle and peel it away slowly and steadily.
- Apply Controlled Heat: If the tape feels locked down, use a heat gun or a standard hair dryer on a low setting. Directing mild heat onto the cloth backing softens the rubber adhesive matrix, reducing its grip strength so it pulls away cleanly.
- Dab Away Remaining Spots: If minor stickiness remains, wrap a fresh loop of gaffer tape around your fingers with the sticky side facing out. Repeatedly and firmly dab the sticky area. The adhesive on the tape will naturally grab and pull up the residual adhesive patches.
- Deploy Safe Chemical Solvents: To safely remove gaffer tape residue from non-porous surfaces like glass or metal, apply a small amount of an industrial citrus-based adhesive remover or mineral spirits to a clean microfiber cloth. Gently wipe the residue away, then clean the area with mild soapy water. Always spot-test a hidden area first to make sure the solvent doesn't discolor or dull the surface finish.
Common Mistakes to Avoid
To keep your surfaces pristine, make sure to avoid these frequent errors:
- Applying tape to dirty or dusty surfaces
- Substituting cheap duct tape when premium gaffer tape is required
- Leaving the tape applied for weeks or months past its rating
- Ripping the tape off too quickly during cleanup
- Applying tape to freshly applied, uncured paint
- Ignoring explicit manufacturer recommendations
Taking these small precautions can significantly reduce the risk of structural or cosmetic damage on your job site.
Final Thoughts
Knowing how to use gaffer tape properly helps protect valuable finishes while ensuring reliable, heavy-duty performance. Whether you are securing cables on an active stage, protecting hardwood floors during an installation, masking walls for a commercial event, or organizing gear, high-quality gaffer tape offers a dependable solution when treated correctly.
For the best results, always opt for professional-grade tape, apply it to clean surfaces, avoid excessive dwell times, and peel it away slowly. Following these simple industry practices will keep your projects looking professional from setup to tear-down.