Masking tape is an essential tool in any DIY or professional project. Masking tape is a type of adhesive tape made with a paper backing and a pressure-sensitive adhesive. It's a versatile adhesive tape that’s primarily used for painting, labeling, crafting, and general-purpose applications. The tape is easily removed without leaving residue behind, making it ideal for temporary applications. Whether you’re painting a room, working on a craft project, or just need a temporary fix, masking tape can be your go-to solution.
Here’s everything you need to know about masking tape, including its types, uses, and tips for the best results.
Common Uses of Masking Tape
1. Painting & Surface Protection:
Creating clean lines: When painting walls, trim, or furniture, masking tape helps create straight edges and clean lines between different areas, such as between walls and ceilings.
Protecting surfaces: It can also be used to protect areas that shouldn’t be painted, like window frames, baseboards, or outlets.
Multi-surface applications: There are masking tapes available for use on different surfaces like glass, wood, metal, or plastic.
2. Labeling & Organization:
Masking tape is perfect for creating temporary labels on storage boxes, jars, food containers, or school supplies. You can easily write on it and remove it later without a sticky mess.
3. Crafting & DIY Projects:
Whether you're making stencils, creating texture, or simply sticking paper to other surfaces, masking tape is a great tool for crafting. It’s especially useful for scrapbooking or other paper crafts where precision matters.
4. Automotive & Industrial Applications:
In the automotive industry, specialized masking tape is used to protect parts of a vehicle during painting or repairs, ensuring a clean finish. It's also used in other industrial applications where clean, temporary fixes or marks are necessary.
5. Arts and Crafts:
In crafting, it can be used to create sharp edges for painting, hold stencils in place, and create temporary designs on various surfaces. It's especially popular for creating geometric patterns on walls or canvas.
6. Temporary Fixes and Holding:
Masking tape can hold two pieces together while glue dries, secure small parts during assembly, or temporarily cover a crack or hole in a wall before a more permanent repair.
7. Woodworking and Construction:
It's used to protect fragile edges from splintering, shield surfaces from glue squeeze-out, and even create a sanding shield to protect adjacent areas. It can also be used to mark cutlines or label parts for easy identification.
8. General Purpose:
From bundling light objects to cleaning up dust from hard-to-reach places like a keyboard, masking tape's versatility makes it a valuable tool for any household or workshop.
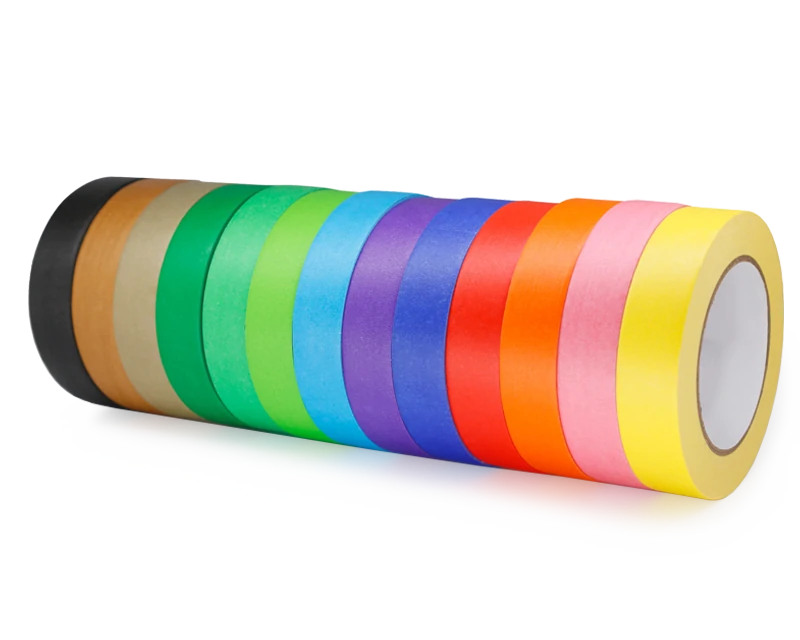
Types of Masking Tape
Masking tape isn't a one-size-fits-all product. Different types are designed for specific applications, primarily based on their adhesive and backing material.
By Adhesive Type:
Rubber-based: This is a common and reliable adhesive for general-purpose applications. It has a high initial tack and is suitable for most surfaces but has a lower temperature resistance.
Acrylic-based: Known for its flexibility and resistance to temperature fluctuations, this adhesive is a good choice for challenging environments. It's also less likely to degrade or yellow over time.
Silicone-based: This type of adhesive offers the best temperature resistance, making it ideal for high-heat applications like powder coating or thermal spraying.
By Backing Material:
Crepe Paper: The most common backing material. It's easy to tear and flexible, conforming well to curved or irregular surfaces.
Washi Paper: A thin, flat, and tear-resistant paper backing that is excellent for creating sharp, clean paint lines with minimal bleeding. This is often found in high-quality painter's tape.
PVC/Vinyl: These backings are thin, tear-resistant, and flexible, often used for surface protection and strapping.
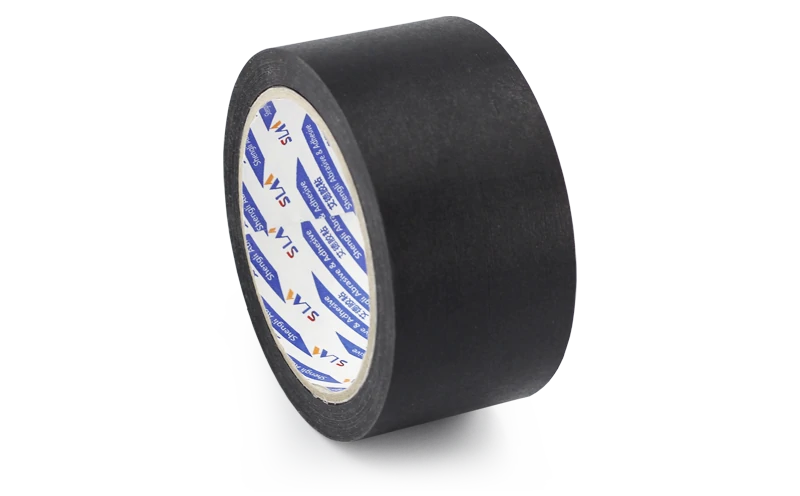
Cloth: This backing is strong and tear-resistant, with properties similar to duct tape but designed for clean removal. It's often used for heavy-duty masking applications.
Common Types by Use:
1. Standard Masking Tape:
Ideal for general painting tasks and simple surface protection. Suitable for indoor and outdoor use but may not hold up to heavy-duty applications.
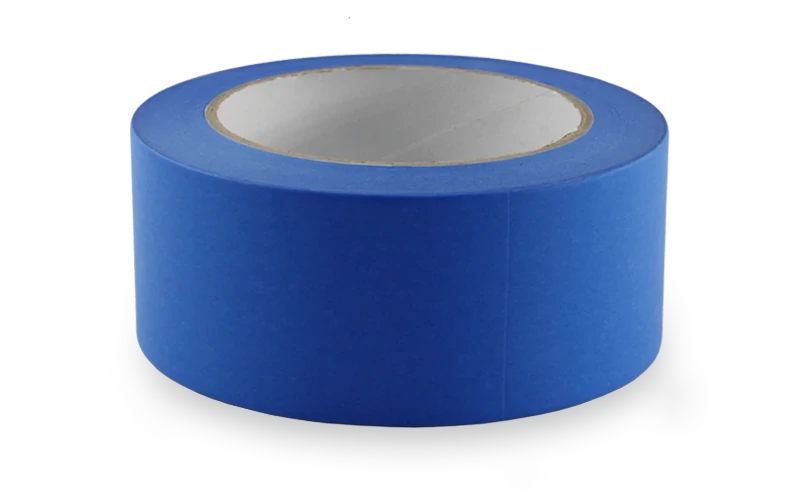
2. Painter's Tape (Blue or Green):
A specific type of masking tape with a lower-tack adhesive, designed for use on delicate surfaces or for extended periods without leaving residue. It's often blue or green to make it easily distinguishable from standard masking tape.
3. Delicate Surface Painter's Tape (Orange/Yellow):
An even lower-tack tape designed for freshly painted walls (cured for at least 24 hours), wallpaper, or other easily damaged surfaces.
4. High-Temperature Masking Tape:
This type of tape is designed to withstand higher temperatures, making it perfect for automotive or industrial use, where heat resistance is important.
5. Extra-Strong Masking Tape:
It’s made with thicker paper and a stronger adhesive for use in more demanding tasks, such as industrial painting or outdoor projects.
6. Multi-Surface Masking Tape:
This tape is specially designed to stick to a wider variety of surfaces, including textured walls, glass, and metal, making it a versatile option for various projects.
Tips for Using Masking Tape
Even with the right tape, proper application is key to a flawless result. Here are some pro tips:
1. Clean and Dry Surface: Always start with a clean, dry, and dust-free surface. Dust and dirt will prevent the tape from sticking properly, leading to bleeding.
2. Apply in Short Strips: When applying tape, use shorter strips (around 6-12 inches) rather than one long, continuous piece. This makes it easier to handle and ensures a better seal, especially on corners or curves.
3. Press Down Firmly: Once the tape is in place, use a putty knife, a credit card, or your fingers to press down and seal the edge. This prevents paint from seeping underneath the tape and ensures a crisp line.
4. Don't Stretch the Tape: As you apply the tape, avoid stretching it. If stretched, it can shrink back and lift from the surface, allowing paint to bleed.
5. Let the Tape Set: Allow the tape to set for 30-60 minutes before painting. This gives the adhesive time to form a good bond with the surface.
6. Remove at the Right Time: Remove the tape when the paint is dry to the touch, not when it's completely cured. If you wait too long, the paint can bond to the tape, causing it to peel or chip when removed.
7. Pull at a 45-Degree Angle: When removing the tape, pull it slowly at a 45-degree angle. This helps to prevent paint from peeling off with the tape and ensures a clean break.
8. Score the Edge (if needed): If you're working on a surface with textured paint or multiple layers, you can lightly score the edge of the tape with a utility knife before removing it. This helps to break the seal and prevent the paint from tearing.
Conclusion: Why Masking Tape is Essential for Your Projects
Whether you’re painting, labeling, or working on creative projects, masking tape is an essential tool that can save time and ensure precision. With a variety of types available, from standard masking tape to high-temperature versions, you can find the right tape for any task. Just remember to apply it properly and remove it at the right time for the best results.