You’ve completed your painting project, and now comes the critical final step—learning how to properly remove painter's tape. This stage determines whether your edges stay crisp or get ruined by peeling paint and jagged lines.
Understanding when to remove painters tape, the correct technique, and the ideal painter's tape removal time ensures professional-quality results. This guide covers everything you need, including expert tips on how to remove tape without peeling paint.
Why Proper Painter’s Tape Removal Matters
Improper tape removal can lead to:
- Paint peeling or lifting
- Uneven or jagged edges
- Sticky adhesive residue
Mastering the correct painter's tape removal time protects your finish and keeps lines razor-sharp.
When to Remove Painter’s Tape (Timing Guide)
Finding the ideal painter's tape removal time depends largely on your paint type and environmental conditions. So, when do you take painters tape off for the best results?
1. The "Touch-Dry" Rule
For the cleanest results, you should generally remove painters tape when the paint is dry to the touch but hasn't fully "cured" or hardened. This is usually about 30 to 60 minutes after your final coat. If you wait until the paint is completely hard (left overnight), it can form a continuous film that may tear, leading to jagged edges or "shirting".
2. Pulling While the Paint is Wet
Some professionals prefer to when to pull off painters tape while the paint is still slightly wet. This technique reduces the risk of paint cracking along the edges and helps create smoother lines. However, there is a higher risk of smudging if you are not extremely careful.
How Long Can Painters Tape Stay On?
A common question is: how long can painters tape stay on without causing damage.
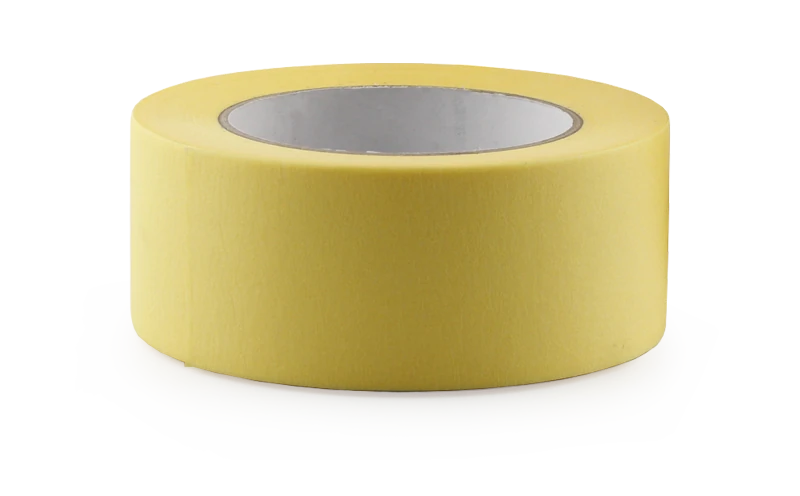
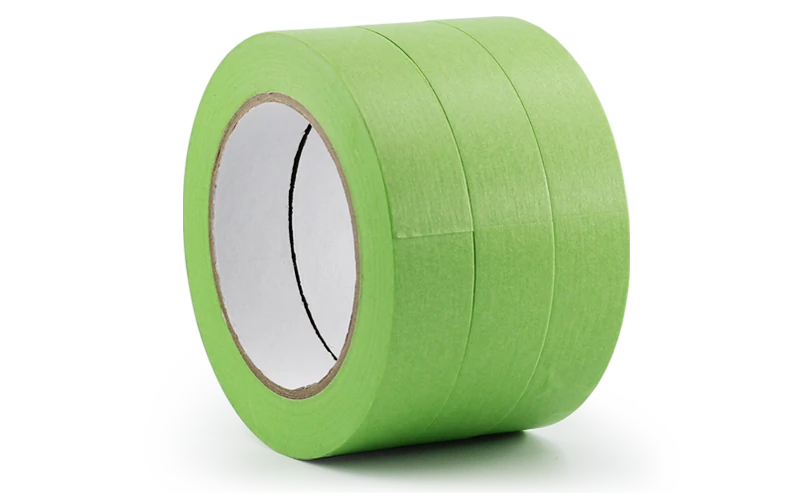
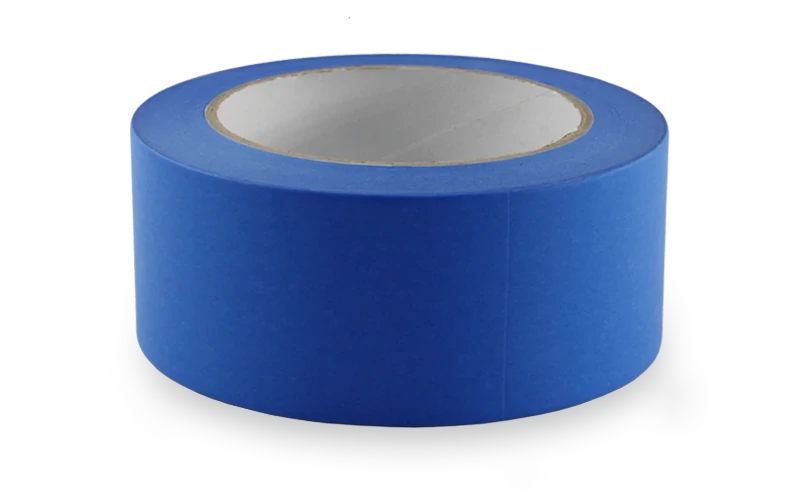
- Standard painter’s tape: Remove within 24–48 hours.
- Premium painter’s tape: Can stay on for 7–14 days or longer.
- High-performance tapes (e.g., precision washi tape): Up to 90 days clean removal (indoor).
Factors That Affect Removal Time
1. Paint Type
Thicker or slower-drying paints may require longer wait times.
2. Environment
- High heat → adhesive bonds faster
- High humidity → slower drying
3. Surface Type
- Delicate surfaces = remove sooner
- Durable surfaces = more flexibility
4. Indoor vs Outdoor
- Indoor: more forgiving
- Outdoor: remove sooner due to UV and weather exposure
How to Remove Tape Without Peeling Paint (Step-by-Step)
Even with perfect timing, your physical technique determines the final result. Follow these steps to ensure a flawless finish:
1. The 45-Degree Angle
Never pull the tape straight toward you or "out" from the wall. Instead, pull the tape back on itself at a 45-degree angle. This creates a shearing action that slices through the paint film cleanly rather than pulling it away from the surface.
2. Slow and Steady Speed
Speed is the enemy of precision. If you pull too fast, you risk tearing the tape or "shocking" the adhesive, which can lead to peeling. Maintain a slow, constant motion as you work your way down the strip.
3. Scoring the Edge (For Dry Paint)
If the paint has fully dried, do not just rip the tape off. Use a sharp utility knife to lightly "score" the edge where the tape meets the paint. This breaks the seal and prevents the tape from pulling the dried paint film off the wall.

Troubleshooting Stuck or Stubborn Tape
If you’ve left the tape on too long and it has become brittle, use a hairdryer on a low setting to gently warm and soften the adhesive bond. If any residue remains, use a dedicated adhesive remover or rubbing alcohol on a cloth—but always test a small, inconspicuous area first to ensure it won't damage your new paint.
Common Mistakes to Avoid
- Waiting Too Long: Leads to strong bonding and paint lifting.
- Pulling Too Fast: Causes jagged edges and surface damage.
- Using the Wrong Tape: Low-quality tape increases failure risk.
Conclusion
Knowing how to properly remove painters tape is essential for achieving flawless paint results. By understanding when to pull off painters tape and using the correct techniques, you can prevent paint damage and ensure clean, sharp edges every time.
Whether you're a DIY enthusiast or a professional, mastering tape removal is the finishing touch that defines your project quality.
Best Practices for Removing Painter’s Tape
Remove Slowly: Gently pull the tape back on itself at a 45-degree angle. This method helps reduce the risk of pulling off any fresh paint along with the tape.
Check the Paint: If the paint is still tacky or feels soft, it might need more time to cure before tape removal.
Use a Blade if Necessary: For areas where the tape is pulling up paint or is difficult to remove cleanly, lightly score along the edge of the tape with a sharp blade to help detach the tape without damaging the underlying paint.
Following these guidelines will help ensure a clean and professional finish without damage to your newly painted surfaces. SLAA painter's tape have a label that shows the amount of clean removal time, ranging from 3 days to 14 days. Always follow the specific instructions on the painter's tape packaging for the best results.