Painting can instantly transform a room, but even the best paint job can look unprofessional if the edges are uneven or paint bleeds onto surrounding surfaces. Learning how to use painters tape properly is one of the easiest ways to achieve clean, sharp paint lines like a professional.
Whether you are tackling trim work, mapping out multi-tone architectural walls, or masking geometric patterns, executing the right preparation, layout, and removal methods ensures crisp lines without damaging underlying finishes. Whether you are painting walls, ceilings, trim, cabinets, textured surfaces, or curved edges, the correct tape application technique helps protect surfaces and improve final paint quality. This expert blueprint reveals advanced painting tape tips used by elite interior decorators to eliminate paint seepage and ensure clean removal every single time.
Tools You Need Before Applying Painters Tape
Before starting, prepare the following:
Professional painters tape
Clean cloth
Mild cleaner
Putty knife or plastic scraper
Scissors or utility knife
Paint brush or roller
Caulking tool (optional)
Using quality masking materials significantly improves painting performance.
How to Use Painters Tape Step by Step
Phase 1: Substrate Preparation and Cleaning
The absolute secret behind getting sharp paint lines lies in surface prep before tape application. Pressure-sensitive adhesive backings require a clean, debris-free substrate to achieve an optimal mechanical seal. Dust, drywall powder, and residual oils can undermine adhesion, allowing wet paint to creep underneath.
De-dust the Area: Wipe down all surfaces—including architectural trim, baseboards, and window casings—with a damp microfiber cloth or sponge dipped in mild soapy water.
Allow to Dry Completely: Wait at least 60 to 90 minutes. Applying tape over a damp substrate destroys adhesive tack, causing the tape to sag or lift mid-project.
Evaluate Your Base Surface: Choose your product based on the curing level and stability of your wall or wood trim.
Phase 2: Master Techniques on How to Apply Painters Tape
Many DIYers mistakenly stretch tape out in massive, single sections. This common oversight warps the backing layer, lifting the paper matrix and guaranteeing paint seepage. Follow these targeted layout strategies across common spatial geometries:
Standard Application for Flat Surfaces
Unroll small segments ranging between 12 to 18 inches at a time. Press the strip firmly against the boundary line using your thumb, moving sequentially forward. Once positioned, run a plastic putty knife or clean wallpaper squeegee along the absolute edge with firm, uniform pressure to activate the adhesive backing and create an unyielding barrier against paint.
Pro-Tip: How to Prevent Paint Bleed with Painters Tape
After pressing your tape into place, paint over the edge using the existing background color first. This seals any microscopic gaps. Once dry, apply your new contrasting topcoat for absolute razor-sharp definitions. To prevent paint bleed:
- Use Thin Paint Coats: Heavy paint buildup increases seepage risk.
- Seal the Tape Edge: Firm pressure helps eliminate gaps.
- Paint Away From the Tape Edge: Brush or roll away from the tape whenever possible.
- Remove Tape Before Paint Fully Dries: This reduces tearing and edge lifting.
Professional painters often use thin, high-quality Washi tape for cleaner paint lines.
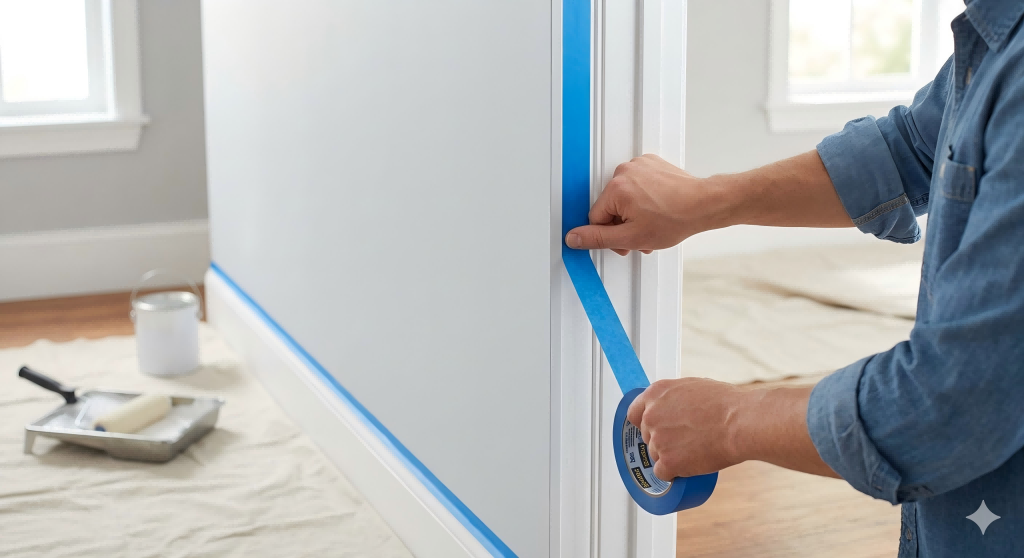
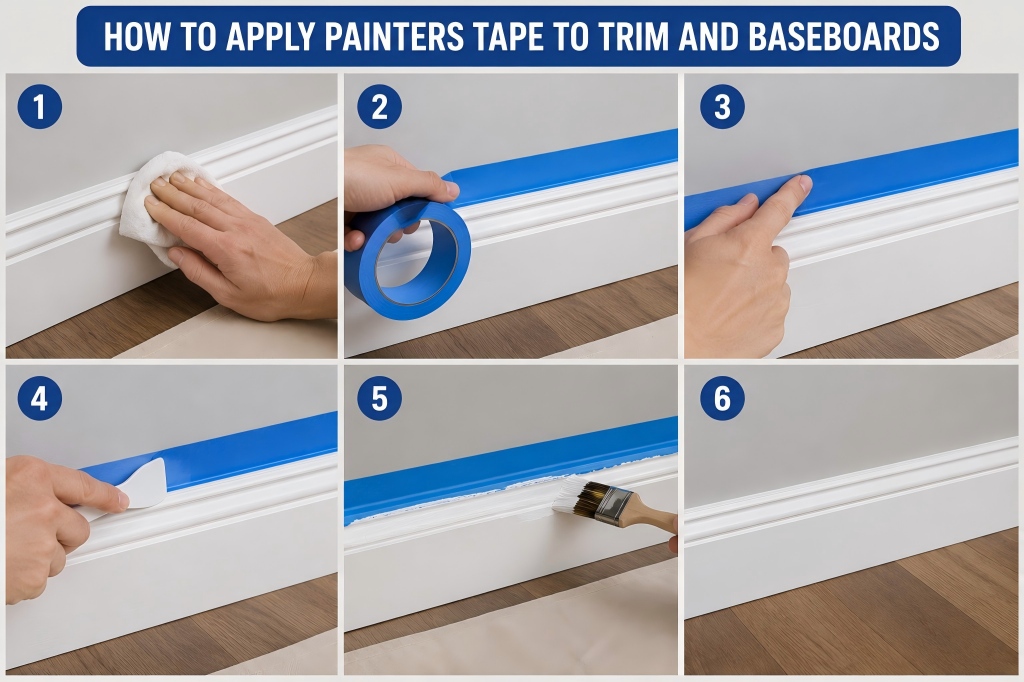
How to Apply Painters Tape to Trim and Baseboards
Trim masking requires precision because paint buildup becomes noticeable quickly. When protecting baseboards or window framing, align the strip exactly where the wooden trim joins the wall sheetrock. Extend the paper slightly outward to form a protective lip that catches flying roller spray or accidental brush slips. Avoid wrinkles or gaps. Use shorter sections around corners. Burnish edges carefully. This technique helps create crisp trim lines with minimal touch-up work.
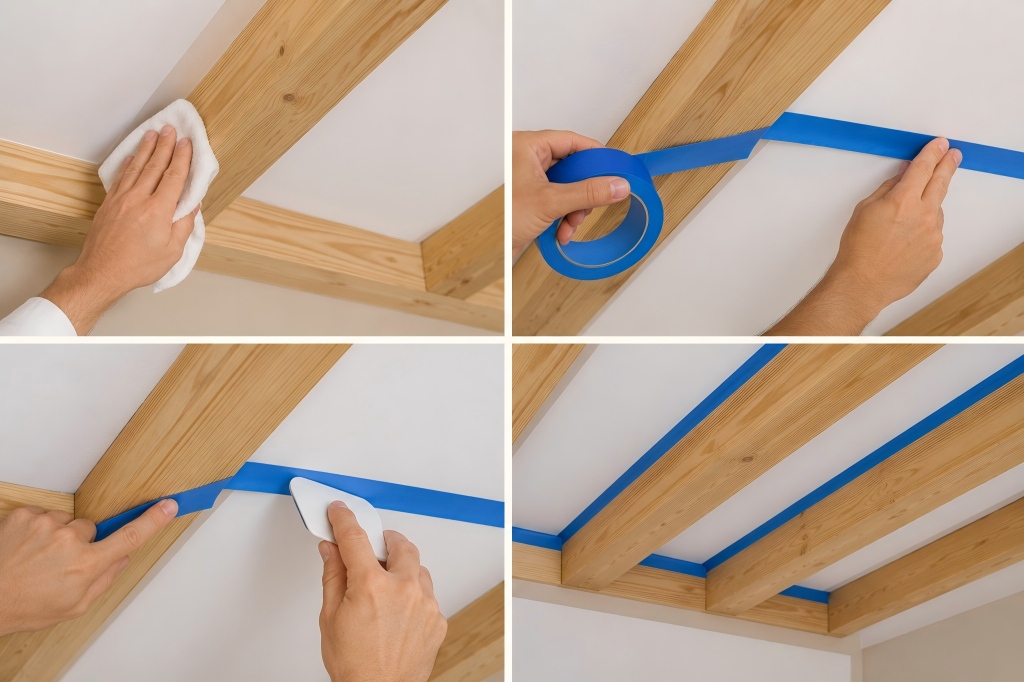
How to Use Painters Tape on Ceiling Joists
When learning how to use painters tape on ceiling lines, work backwards on a sturdy ladder or platform step. Ceilings require tape that resists gravity while maintaining clean edges. Apply the tape directly to the ceiling plane, positioned precisely a hair’s breadth away from the wall angle. Press the tape firmly upward to ensure heavy, modern latex wall formulations won't sag the paper edge down.
How to Use Painters Tape on Curves and Radii
Curved surfaces can be challenging with standard tape widths. To track arched window casings or round structural pillars, rely on short, overlapping 2-inch tabs of a narrow tape widths high-flex washi tape. By step-overlapping small segments around the curve, you prevent the paper backing from tearing or wrinkling.
Phase 3: Navigating Specialty Surface Scenarios
Different structural layouts present distinct adhesion problems. Use this guide to optimize your approach for advanced or challenging scenarios:
|
Challenging Scenario
|
Advanced Field Technique |
|
How to Use Painters Tape on Textured Walls |
How to Use Painters Tape on Textured Walls Knockdown, orange-peel, or stucco surfaces have deep recesses that paper tape alone cannot bridge. Use high-adhesion professional painters tape. Apply your tape line, then run a thin bead of clear paintable caulk along the painting edge. Smooth the bead down with a gloved finger to fully close the textured gaps before applying paint. |
|
How to Use Painters Tape When Caulking |
To frame clean joints around bathtubs, sinks, or backsplashes, apply two parallel rows leaving a tiny gap in between. Inject your silicone or acrylic caulk, tool the bead smooth, and immediately pull the tape away while the material is wet for clean, professional caulk lines. |
|
How to Use Painters Tape for Clean Lines |
Utilize a premium, ultra-thin professional painters tape like Washi paper. Its dense, flat edge profile keeps paint from accumulating or pooling, yielding a smooth, factory-grade finish. |
Phase 4: Timed Removal for Residue-Free Finishes
Even perfect application can go wrong if removal is executed poorly. Pulling tape down at the wrong angle or wrong phase can tear your fresh topcoat, ruining your hard work.
How Long to Leave Painters Tape On Before Removing?
As a general rule, tape should be removed while the final coat of paint is still warm and damp to the touch—typically within 24 hours after finishing. If the paint dries completely, it forms a cohesive film over the tape. Pulling the tape at that point can pull down chunks of your new finish coat.
How to Use Painters Tape Without Peeling Paint
Avoid leaving tape on too long. If the paint has dried to a hard crust, run a fresh razor blade or utility knife along the edge of the tape line to score the paint film. This safely severs the connection between the wall and the paper backing. When pulling the tape, always grip it firmly and peel it back steadily at a sharp 45-degree angle away from the newly painted surface. This rolling angle shears the adhesive layer safely, keeping your lines perfectly painters tape straight while preventing any sticky residue, delamination, or wall damage. For delicate surfaces, use specially designed sensitive surface painters tape.
Export Safety Check: UV Exposure Windows
Always check the manufacturer’s removal window rating (e.g., 14-day or 60-day clean removal). Leaving tape exposed
to direct solar UV rays past its rating can bake the adhesive into the wall, requiring heavy solvents to clean up.
Choosing the Best Professional Painters Tape
The best painters tape depends on your application.
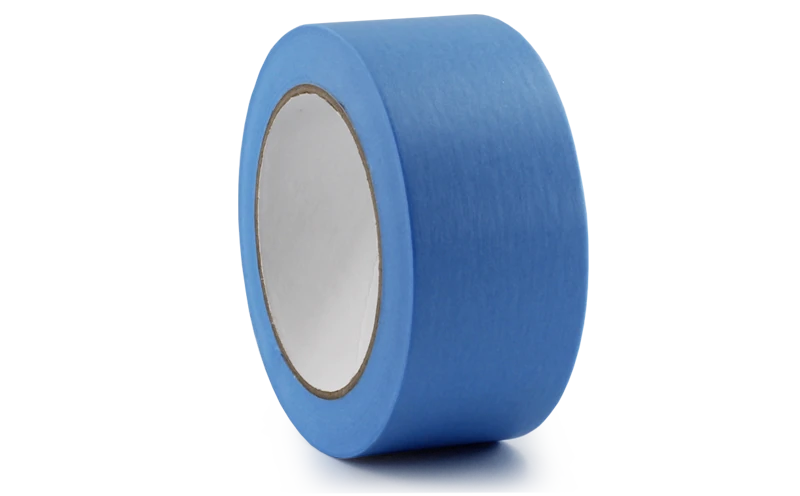
- For Interior Walls: Use medium-adhesion blue painters tape.
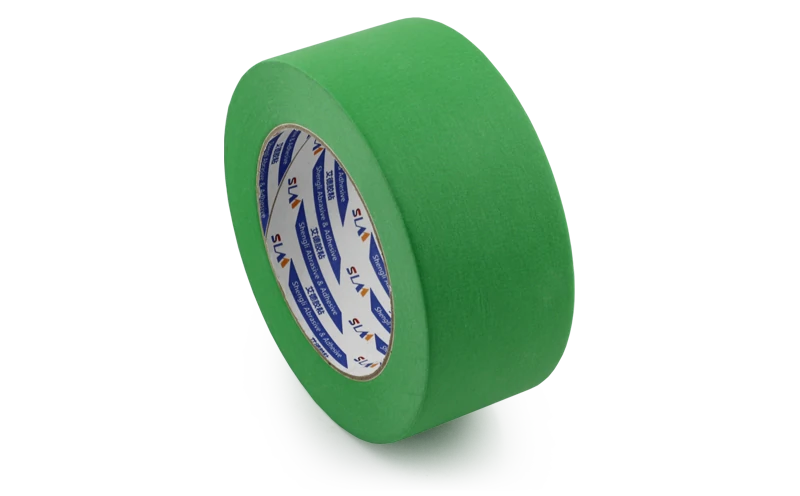
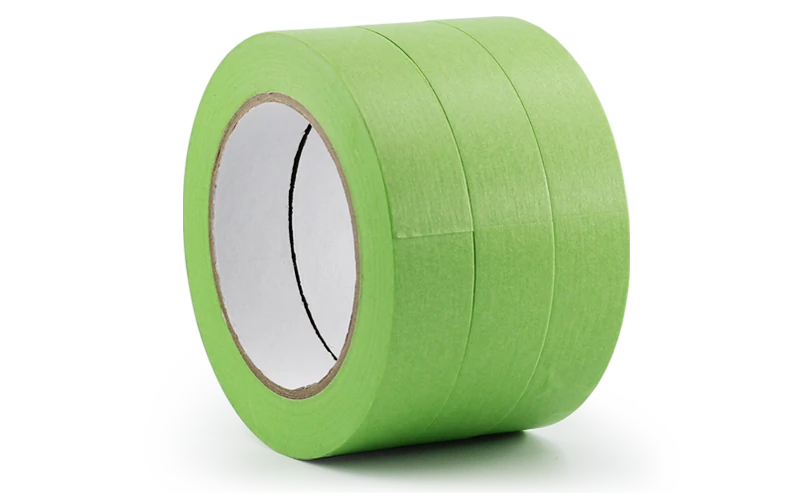
- For Exterior Painting: Choose UV-resistant green painters tape.
- For Automotive Painting: Use high-temperature Washi masking tape.
- For Delicate Surfaces: Use sensitive surface painters tape.
- For Textured Walls: Use high-adhesion professional-grade masking tape.
Using the correct tape improves paint quality and reduces project time.
Final Thoughts
Understanding how to use painters tape correctly can dramatically improve painting results. Proper tape application helps create cleaner edges, sharper paint lines, and better overall finishes while reducing cleanup and rework.
From ceilings and trim to textured walls and curved surfaces, professional masking techniques help both DIY users and contractors achieve professional-quality results.
Choosing high-quality professional painters tape and following proper application methods ensures reliable adhesion, clean removal, and long-lasting performance.